REST, which stands for REpresentational State Transfer, is the primary type of API used in Cisco's Webex Suite products. Other collaboration products such as Unity Connection and Cisco Meeting Server also use REST APIs. Now that you have explored SOAP APIs, you will see that REST APIs are very different than SOAP APIs. Unlike SOAP, there is no "REST standard" per-se. While SOAP is a well-defined protocol, REST APIs are a style that leverage existing standards such as HTTP, JSON, XML, and others to provide a web service. As a result, you will notice differences in how different products implement REST APIs. This lab will expose you to how Webex implements REST APIs. The good news is that different features in Webex are generally consistent in how they implement their APIs, so once you learn how to use one Webex API, you will have a good idea of how to use others.
REST-compliant (RESTful) systems consist of a client and server that exchange stateless transactions. Although technically not mandatory, all REST-based APIs in Webex use HTTPS. In this model, a client sends a request to a server; the server processes the request and sends a response back to the client.
The type of request is called a verb and there are four that are covered in this lab:
This request has a path to a resource, which is represented as a portion of the URI following some base URI that is common to all requests for a given API. It may also have query parameters after the URI, indicating some variable or setting. The ? character marks the end of the URI (the resource) and the start of these parameters. Each additional parameter is separated by the & character. For example:

In this example, all API requests to this API will start with https://host/api/v1/ followed by the resource (which can have additional path elements) and then any query parameters. This structure is no different than any other web request you might make in a browser when navigating to a web page so it should feel familiar to anyone who has paid attention to the URL in their browser.
Responses to a request include a status code and a body. The status code is a three-digit number that indicates the result of the request. The body is the data that is returned by the server. The body is typically in JSON or XML format, but can be any format that the server supports. The body of the response is typically the most important part of the response for a GET requests because it contains the data you requested. The status code is important because it tells you if the request was successful or not.
Like any other response from a web server, the status codes are divided into ranges. The most common status codes you will see are in the 200 range which indicate success. Responses in the 400 range indicate a client error - typically that the request was malformed or that the client does not have permission to access the resource. A 404 Not Found is a common example of a client error indicating that the resource you requested does not exist. Responses in the 500 range indicate a server error - typically that the server was unable to process the request for some reason.
A REST request will also include Headers, for things like authentication and defining the data format of the payload, if any. Headers play an important role in authentication in REST APIs - specifically the Authorization header. Following the Headers is the body of the request, if any. The body is typically used in POST and PUT requests to send data to the server. The body is typically in JSON or XML format, but can be any format that the server supports. For Webex APIs, these will typically be in JSON format.
RESTful APIs may implement authentication and authorization in a variety of ways, or not at all. For example, the Cat Fact API at https://catfact.ninja/fact will return a JSON formatted body containing a random cat fact and doesn't require any authentication. Because no authentication is required and this particular API endpoint uses the GET verb, you can access it with a standard web browser. This is an example of a very simple REST API. As you will see, the APIs available in Webex are more complex than this, but they fundamentally work in the same way.
While different Cisco collaboration products that expose RESTful APIs may use different authentication mechanisms, Webex APIs consistently use one form of authentication - access tokens. Usernames and passwords are never used to authenticate to Webex APIs. This is not to say that you may not need a username and password to obtain an access token, but the access token itself is what is used to authenticate to the API.
The REST APIs provided by Cisco Webex use access tokens for authenticating and authorizing API requests by leveraging the OAuth2 standard. Access tokens can come from a variety of sources, but they are all used in the same way: the HTTP Authorization header contains the word Bearer followed by a long string of characters that represents the access token. For example, the Authorization header for a request may look something like this:
Authorization: Bearer CDc4KmFjMzAtMDA9jjauYWUkKWExMeEtYmZ3MmZhMGNiN2VjYjab_AD92_039cfbf8-2732-8f82-0239-7283abef6612
The contents of the access token itself can vary from implementation to implementation. Some APIs use opaque tokens which means that the token itself is just an identifier and the system to which you pass the token must ask the authentication system whether the token is valid or not and what permissions the token has access to. Another token format is the JSON Web Token (JWT) format (pronounced "jot"). JWT tokens are self-contained and provide all the authentication information in the token itself and are cryptographically signed in a way that the server authenticating the request can validate that the token is valid without having to ask the authentication system. Webex APIs make use of both opaque tokens and JWT depending on the mechanism by which you obtain the token. The type of token is not of much importance to someone using an API because it is up to the service receiving the token to determine how to authorize the user based on the token; however, because JWT are self-contained, you can use a decoder like the one on jwt.io to give you the contents of the token. Be careful using online tools like this because your token is senstive like a password. Someone who has the token can access any resources granted to that token.
Access tokens also typically have a set of Scopes associated with the token. A scope is a way to define a specific permission in the API. Scopes are completely implementation dependent and each API you find that uses tokens will have different levels of granularity in their scopes. For example, one API may just have a "readonly" scope and a "read-write" scope while other APIs may have specific scopes for different levels of access to individual resources - for example a scope that allows for reading only user accounts.
Cisco Webex has a variety of different access tokens available for different needs. You will start here by using a Personal Access Token which is a token that represents your user account in Webex. A Personal Access Token is authorized to do anything you as an individual user are allowed to do. This means that if you are an administrator, the token can perform administrative tasks, but if the token belongs to a standard user, it can only access resources that a non-admin user would have access to. The token you will use in this lab is limited in scope, so in future sections you will explore how to obtain tokens with certain administrative scopes.
One key differences between traditional username / password based authentication and access tokens is that access tokens typically have a limited lifetime. In other words, they expire after a certain amount of time after being granted. Some tokens can expire within minutes or hours while others could be valid for years. Webex Personal Access Tokens are only valid for 12 hours, so after 12 hours, you must generate a new token to continue using the API. If tokens are only valid for a short period of time, how do you stay logged in to an application using access tokens or how can you continue to use an API that requires access tokens without having to provide new credentials? This is made possible through the use of refresh tokens which can be used to request a new access token. We will discuss refresh tokens in more detail in a later section when we dive into service apps and integrations. For now, let's see how you can use a personal access token to make some simple API calls to the Webex APIs.
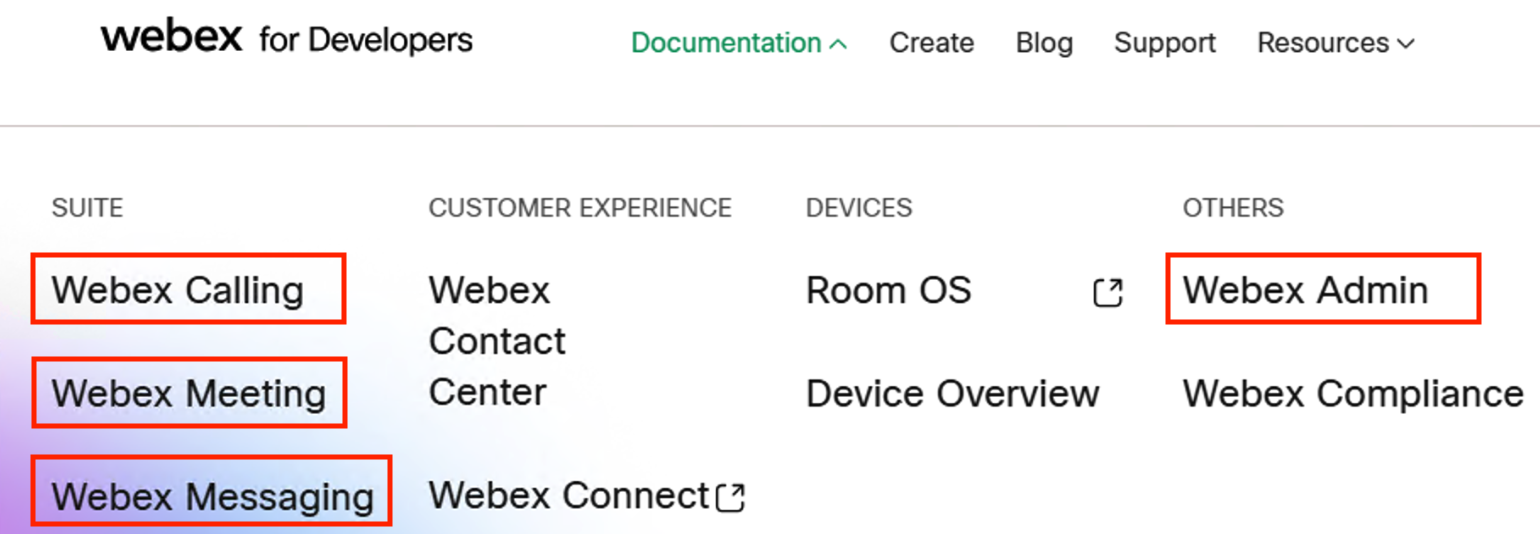
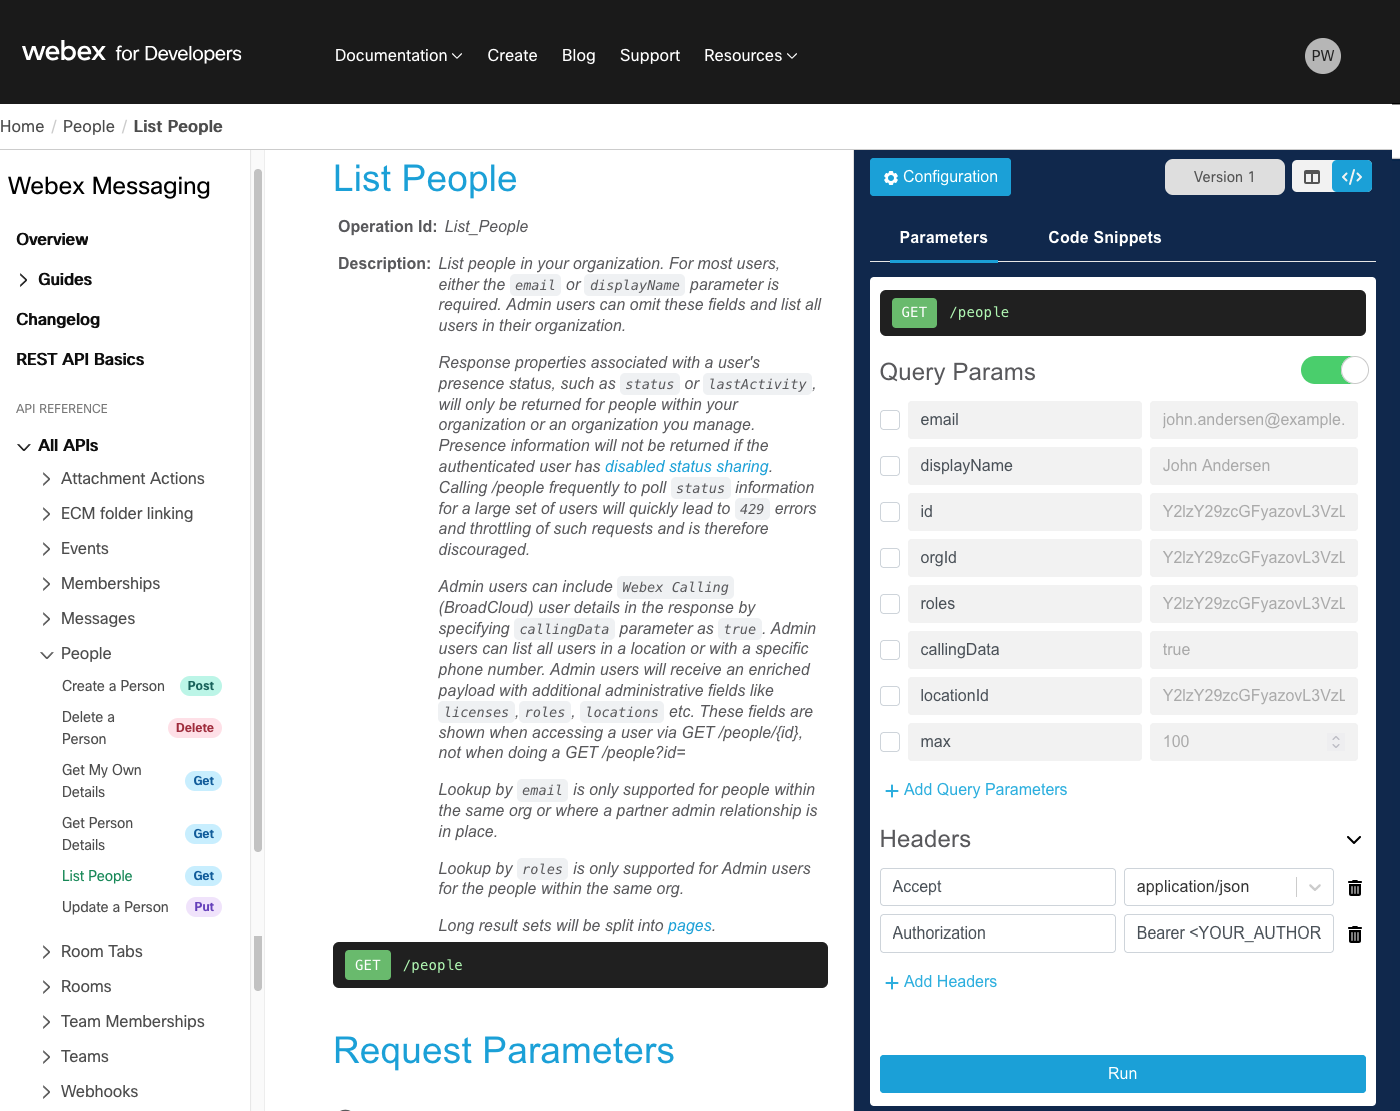
You can now explore some the features of a REST-based API by way of an example. While there are a number of tools that allow you to construct custom REST queries, such as Postman, the Cisco Webex documentation itself allows you to send API requests directly to Webex and examine the results. Let's take a look at querying a person.
Keep in mind, this request and response is from the real Webex system, not a sandbox. Care must be taken when executing some requests, especially those that alter or delete data.
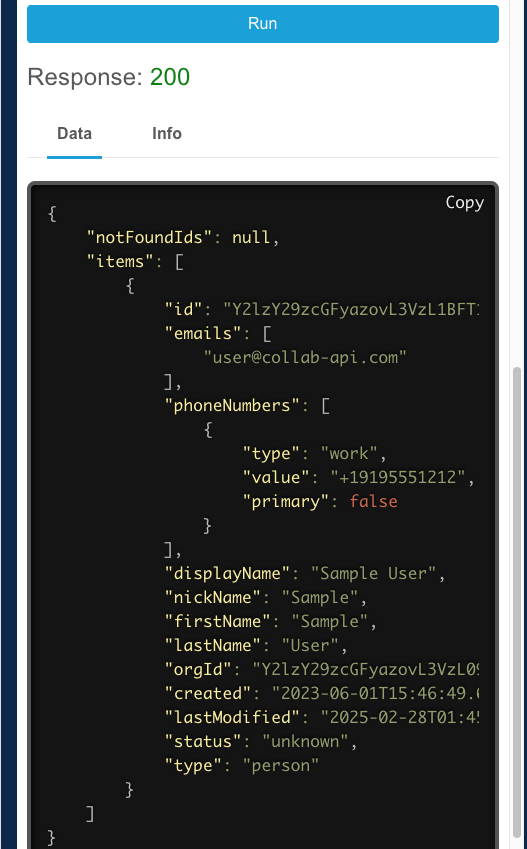
In this example, you see not only a response code, but also the Data or body of the response which contains the user data for the user with this email address (in some cases there is no data returned and the only thing returned is the status code indicating if the request was successful or not). This is a JSON payload, with some indenting to make it more readable. Similar to XML, it is a serialization format. That is, JSON is a way of representing structured data in the form of a textual string, so it can be sent
If you have some Python background, you might notice that it looks very much like a Python dictionary, but it is not exactly the same. Text data in JSON must be enclosed with double quotes (whereas in a Python string, single or double quotes would work), and while Python supports many data types, including custom ones, JSON supports very few (string, integer, array (list), a boolean, null, or another JSON object). Therefore, to change something into a JSON string, you often have to convert to these simpler types. Since this is such a common task, many Software Development Kits (SDKs), which are a set of tools that facilitates usages of specific APIs, will provide methods to export or convert their data in JSON format.
If you are unfamiliar with JSON and would like to learn more, you can find a good introduction here: https://www.digitalocean.com/community/tutorials/an-introduction-to-json or a bit of a more technical introduction here: https://www.json.org/json-en.html.
https://webexapis.com/v1/people?email=pod6wbxuser%40collab-api.com
All Webex APIs will use the https://webexapis.com/v1 base URL, followed by the resource you are accessing, /people in this case. Query parameters are added to the end of the URL, starting with a ? character, followed by the parameter name and value. In some cases, characters must have a special encoding when sent in a URL, such as the '@' sign. This page lists the various characters that must be encoded.
If you were to construct an API request manually, you would need to know this URL, however as you will soon see, the Webex SDKs will handle this for you.